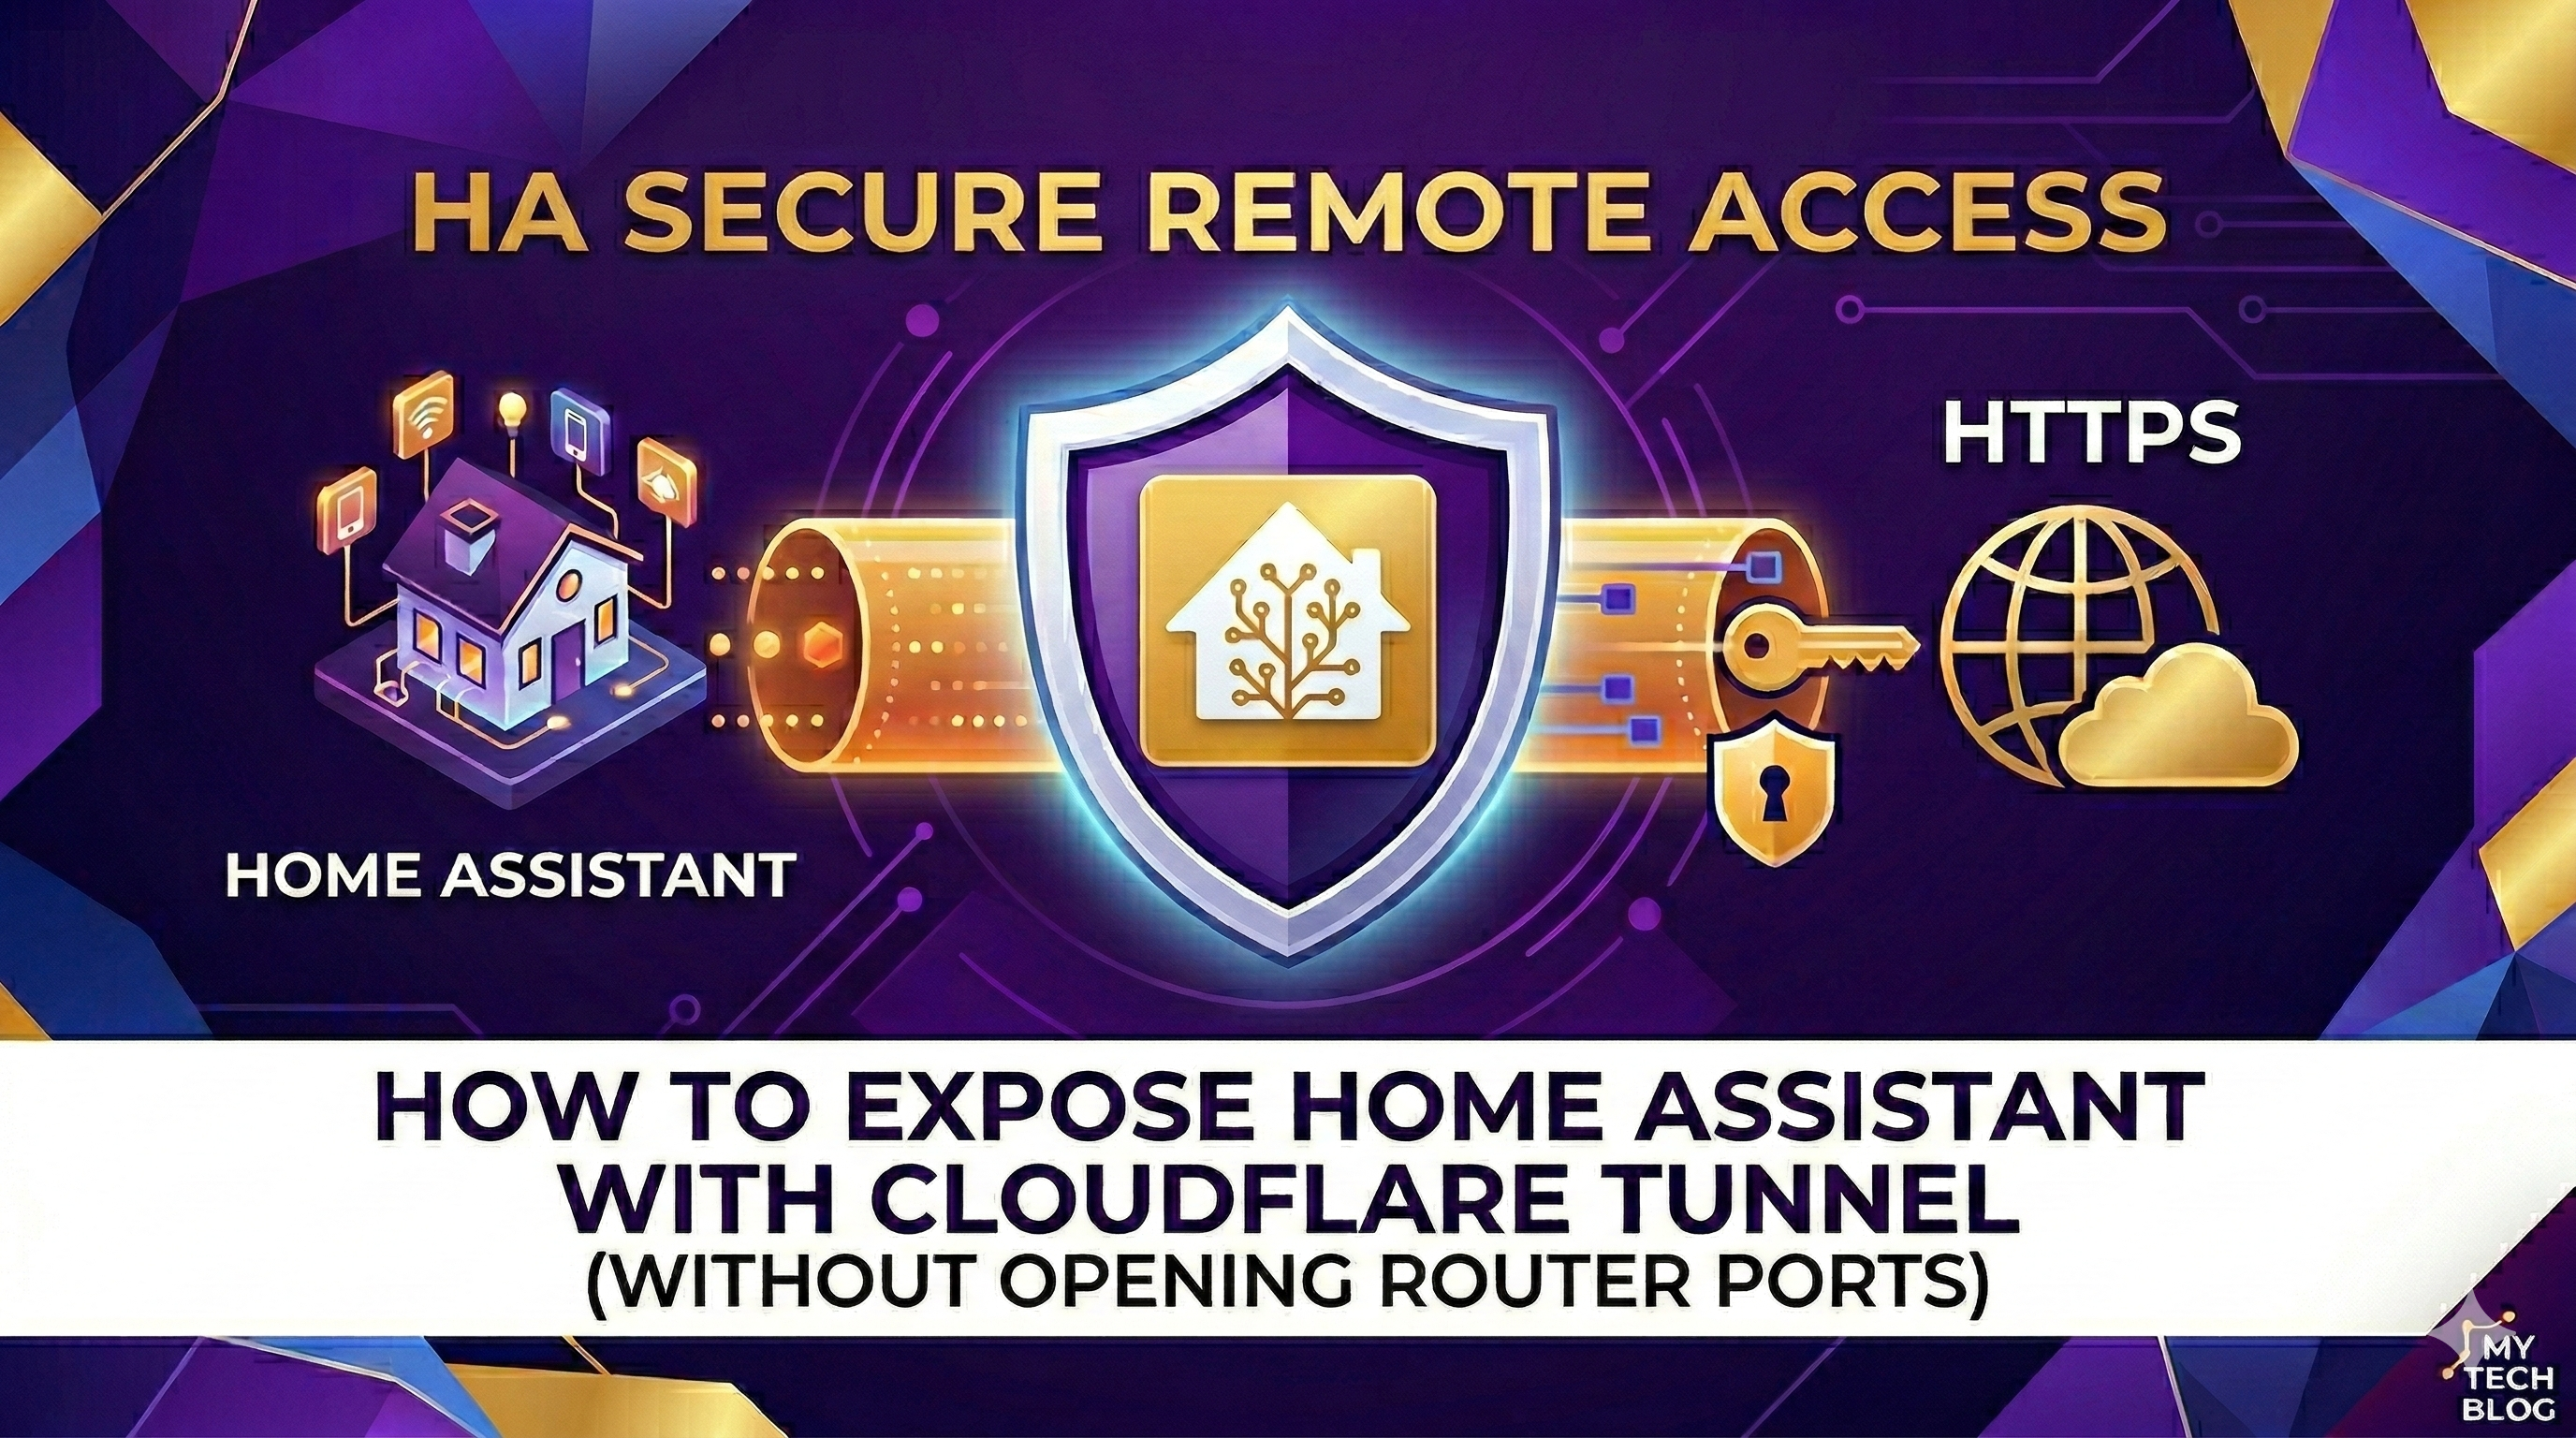

In this article, we will explore how to securely expose Home Assistant to the outside world without opening any ports on your router, by leveraging the power of Cloudflare Tunnel. This solution is perfect if you want to monitor your systems (such as inverters or batteries) from the office in total safety.
Prerequisites
Before starting, it is essential to have a purchased domain (e.g., yourdomain.com). Based on testing, free domains often do not work correctly with Cloudflare’s Zero Trust services.
1. Installing the Add-on
Forget about old manual configurations. The easiest way is to install the Cloudflared add-on using this specific repository: 👉 Cloudflared Add-on Repository & Guide
2. Configuration and Authorization
Once the add-on is installed:
- Enter the subdomain you wish to use in the External Home Assistant Hostname field (e.g.,
ha.yourdomain.com). - Start the add-on and immediately open the Log tab.
- You will find an authentication link: open it, log in to Cloudflare, and select your domain.
- The system will automatically create the tunnel and the necessary DNS record on the Cloudflare portal.
3. Automatic SSL and Security
One of the major advantages of this procedure is that Cloudflare will automatically assign a valid SSL certificate to your domain. You don’t need to configure anything: the certificate will be issued and, most importantly, automatically renewed by Cloudflare, ensuring a secure HTTPS connection at all times (the classic green padlock).
4. Modifying the configuration.yaml file
For Home Assistant to accept connections from the Cloudflare proxy, add these lines to your configuration.yaml file and restart:
http:
  use_x_forwarded_for: true
  trusted_proxies:
    - 172.30.33.0/24